
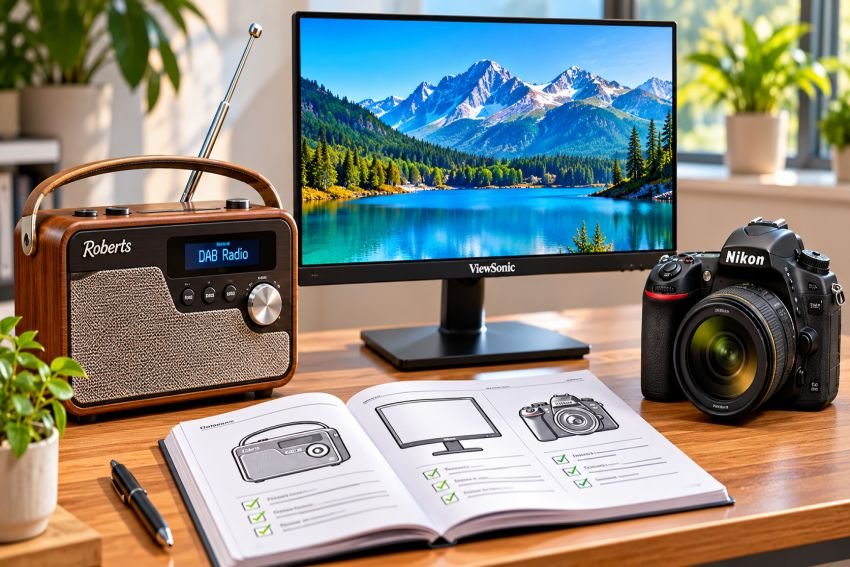
A kitchen radio that loses DAB stations every afternoon. A new 144 Hz monitor that will not go above 60 Hz. Holiday photos that look sharp on the camera screen and soft on the laptop. Three unrelated devices, and in each case the answer is a setting or a connection described in the manual.
Roberts radios, ViewSonic displays and Nikon cameras have one routine in common: identify the exact model, check power and connections, then adjust settings. Here is how to apply it to each device.
Find manuals for Roberts radios, ViewSonic displays and Nikon cameras
Read the model from the label. It is usually on the back or base. Confirm that the manual’s title or model list matches it. If a linked collection has no exact match, use the manufacturer’s support site.
| Brand | Background | Where the model is usually printed |
| Roberts | British radio maker founded in London in 1932; part of Glen Dimplex | Underside or back panel |
| ViewSonic | US display maker based in California | Rear label |
| Nikon | Japanese optics company founded in 1917 | Base plate or inside the battery door |
Set up a Roberts radio for clearer reception
Use the specified power adapter or the correct batteries. The roberts manuals collection has power and tuning instructions for each model.
DAB and FM
- Extend the telescopic aerial fully and try different angles.
- Move the radio toward a window and away from LED lamps, chargers and other electronics, which can interfere with DAB.
- Select the band before tuning.
- On DAB, run a full station scan. On FM, use auto-seek or tune manually.
A scan cannot fix a weak signal. If DAB keeps dropping out, check coverage for your address. DAB tends to cut out rather than fade, so a station that is fine on FM can still fail on DAB at the same spot.
Bluetooth and internet radio
Bluetooth problems have nothing to do with the aerial. Select Bluetooth mode on the radio, find it in the phone’s Bluetooth settings and disconnect any other device already linked to it.
Internet radio uses Wi-Fi, not broadcast signals, so it can fail while DAB works, and the other way round. Choose your network in the radio’s setup menu and enter the password. If it still will not connect, compare the radio’s supported Wi-Fi band and security mode with your router’s settings.
Match a ViewSonic display to its source
Connect the source to a supported input and select that input from the display’s menu. For USB-C video, the computer’s port and the cable must both support video output, usually through DisplayPort Alternate Mode. A USB-C connector alone does not guarantee a picture.
Resolution and refresh rate
Set the computer to the display’s native resolution. For refresh rate, the source, cable and port all have to support it:
| Connection | Common limit to check |
| HDMI 2.0 | Up to 4K at 60 Hz |
| HDMI 2.1 | Higher refresh rates at 4K, where supported |
| DisplayPort | Often the port for a monitor’s highest refresh rate |
| USB-C | Depends on the computer’s video support |
That is why a 144 Hz monitor may stop at 60 Hz over one port and run at full speed over another. The specifications list the native resolution, and the timing table in the viewsonic manuals shows the refresh rates for each input. Set the rate in the computer’s display settings as well.
Picture settings
Start with the standard picture mode. Adjust brightness to suit the room first, then color. Gaming and vivid modes change color and contrast, so choose the mode before fine-tuning.
For a blank screen, check that both devices have power, select the correct input and reseat the cable at both ends. Then test another cable or source.
Prepare a Nikon camera for sharp images
Start simple. Charge the battery, insert a supported memory card and set the date and time. On an interchangeable-lens camera, attach the lens as the instructions describe. The nikon manuals collection covers the menus, focus modes and connection options for each model.
Three settings to start with
- Mode: automatic for snapshots, or an exposure mode you understand for more control.
- Focus point: place it on the subject, then wait for the focus confirmation, a light or a beep.
- File type: JPEG for easy sharing; RAW, if available, for more editing latitude.
Find the cause of blur
| What you see | Likely cause | Try |
| Sharp background, soft subject | Missed focus | Move the focus point onto the subject |
| Whole image smeared | Camera shake | Brace yourself or rest the camera on something |
| Subject streaked, background sharp | Subject movement | A faster shutter speed or sports mode |
A long-standing rule of thumb for handheld shots is a shutter speed of at least 1 divided by the focal length: 1/200 second at 200 mm, for example. Vibration reduction helps with camera shake, but it does not freeze a moving subject. In low light, a faster shutter needs a higher ISO or more light.
Check sharpness at 100% on the camera’s screen, not just on the full-frame preview. A small preview hides missed focus.
Connecting the camera
Decide what you need first: files, TV playback or video. Many recent Nikon cameras pair with a phone through the SnapBridge app, and Nikon’s Webcam Utility turns supported models into a computer webcam. A USB or HDMI port does not by itself mean the camera supports webcam use, so check the model’s manual.
When problems persist
Follow the troubleshooting section for your exact model, or contact the manufacturer’s support team. Do not open the case of any of these devices. Before a factory reset, check what it will erase, such as radio presets, display settings or camera custom modes, and note them down first.

Read Dive is a leading technology blog focusing on different domains like Blockchain, AI, Chatbot, Fintech, Health Tech, Software Development and Testing. For guest blogging, please feel free to contact at readdive@gmail.com.